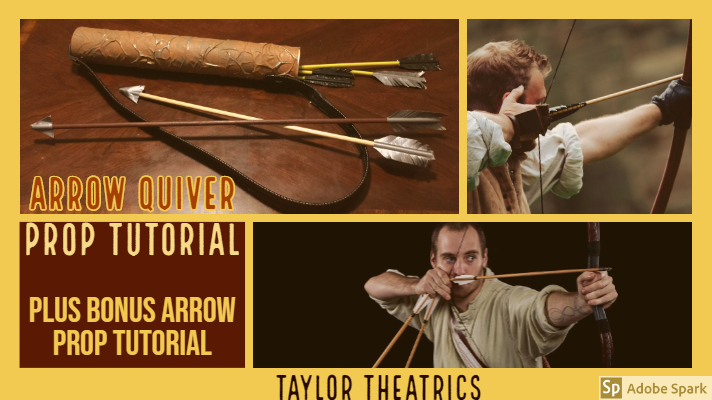
Arrow Quiver Prop Tutorial
For our production of Peter Pan and Wendy, one of our lost boys needed a bow, an arrow quiver, and some arrows. One of my students had a long bow, so all we needed to create was an arrow quiver prop and some arrows to go with it, so we set to work.
Supplies
- 2 Empty Pringles Cans
- X-ACTO Knife
- a belt (I used a worn out one that I had on hand.)
- Duct Tape
- Scissors
- Leather Punch or hammer & nail
- 2 6″ Zip Ties
- Light & Dark brown flat paint (I used acrylic, but latex would also be good.)
Step 1: The Body
Begin by cleaning out your two Pringles cans and setting the lids aside (you can use the lids for my alligator costume tutorial). Cut the metal bottom off of one of the cans with an X-ACTO Knife. Next, attach the two cans together with duct tape in order to create one longer cylinder for your arrows.
 In order to create a leather texture for your quiver, run Duct Tape loosely around your cylinder, slightly pulling back and forth as you go around to help create a wrinkled effect. Press the duct tape down as you go so that it adheres well.
Step 2: Paint
Once you’ve got the body covered with Duct Tape, paint it with a coat of light brown. Once this dries, dry brush a darker coat of brown to help the wrinkles stand out.
Step 3: The Shoulder Strap
In order to attach the shoulder strap, begin by punching two holes in the bottom either with a leather punch or a hammer and nail. (If you use the leather punch, use the smallest with the pointy end and gently tap until the hole gets larger. If you are too agressive, you will badly bend the bottom/metal.) Add two more holes on the side by turning a pair of scissors back and forth in order to create the holes. Cut the buckle off of a belt and use zip tie to attach the belt.
*Hint: In order to get the zip tie to easily go in at an angle, you can curl the zip tie on the end by bending it so it will easily go into one hole and out the other.
Here is the finished quiver:
Bonus: Arrow Prop Tutorial
Supplies:
- Duct Tape
- Scissors
- Dowel
Step 1: Attaching a “Feather”
For the feather, place 2 three inch pieces of duct tape, facing each other, on either side of one end of the dowel. Cut the outside end and inside ends at an angle toward the dowel and then cut thin strips all the way down, angled toward the dowel. Ruffle these with your fingers in order to separate them and help them stand out.
Step 2: The Arrow Head
For the arrow head, attach 2 two inch lengths of masking tape on either side of the dowel on the opposite end as the feather. Then trim at an angle away from the dowel at the end. You may want to add a few layers in this manner in order for it to be sturdier, or you could cut a couple of blade shaped pieces of cardboard to attach on either side of the dowel with duct tape for an even sturdier arrow head.
Step 3: (Optional): Stain
You could leave the shaft a natural light shade of wood or if you want, you could use wood stain in order for it to be a warm brown tone.
In Conclusion
This arrow quiver prop tutorial and bonus arrow prop tutorial are both great projects for beginners. They provide a usable prop that is sturdy, inexpensive, and easy to make. Happy prop making!
You might also like… SHOTGUN SHELL PROP TUTORIAL
Shotgun Shell Prop Tutorial


Wow this looks amazing! How fun!
Wow! How cool is it that you made all your own props, They look so good too.
This is so clever! I bet they look great on stage! Great idea for kids too!
This is so cool and my sister would love to read this post for sure. I am sending the link her way plus this is great fun for the kiddos at home. They can make some and play 🙂
Wow! This so fun to do! Boys will surely love to have this. Thanks for sharing!
My kid is fascinated with arrows and this tutorial is just the thing to keep him busy while doing something constructive. Lol
I like DIY! Your arrow quiver is cool and my son will have so much fun with this.
Ohhh, this is so neat. My boys would have a blast putting this together for fun.
Oh wow this is a cool tutorial. Never thought of making something like this. My nephews would love it.
Legolas goals! Haha! One of my secret dreams is to be an archer! Well, this might be a step for it