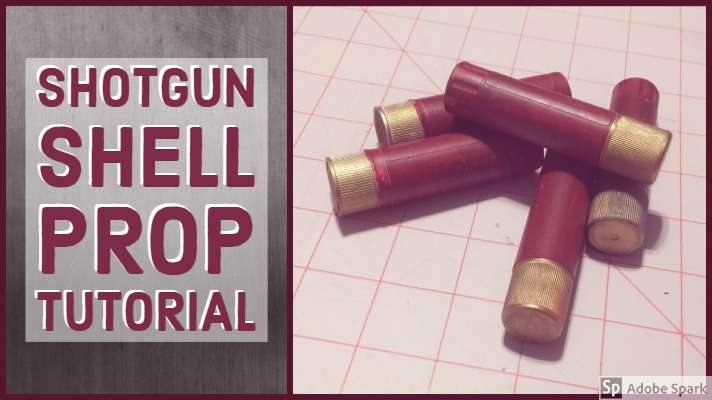
Shotgun Shell Prop Tutorial
If you’re needing shotgun shell props for a show or a cosplay, this is one of the quickest, simplest props that I’ve ever created. After having my students work in their interactive notebooks, I had an abundance of empty Glue Sticks and was curious as to what I could create from them. It occurred to me that glue sticks look remarkably like shotgun shells.
Supplies

Step 1: Paint
Begin by separating the cap from the stick. Then you’ll want to paint the long portion burgundy. While this dries, spray paint the caps gold. Once dry, add a dab of E-6000 into the cap and put the two pieces back together.
*Pro Tip: Spray painting in a shoe box will help control your over spray. It will also help contain round objects that might roll. The box is also handy for keeping your project together.
Step 2: Details
To give the shotgun shell a bit of detail, with a cloth, rub a small amount of Black Shoe Polish into the grooves and onto the shaft.
Step 3: Optional Details
Another detail that you can add is a washer to the cap using E-6000. If you choose to do this, do so before painting. Also, for the open end of the glue stick, prior to painting, you can cut a circle from cardboard to insert and hot glue into place.
In Conclusion
I hope that this shotgun shell prop tutorial has been inspiring and comes out as quickly and easily for you as it did for me. Happy prop making!
You might also like… BONE PROP TUTORIAL


