Recreating the Jolly Roger for Your Peter Pan Set
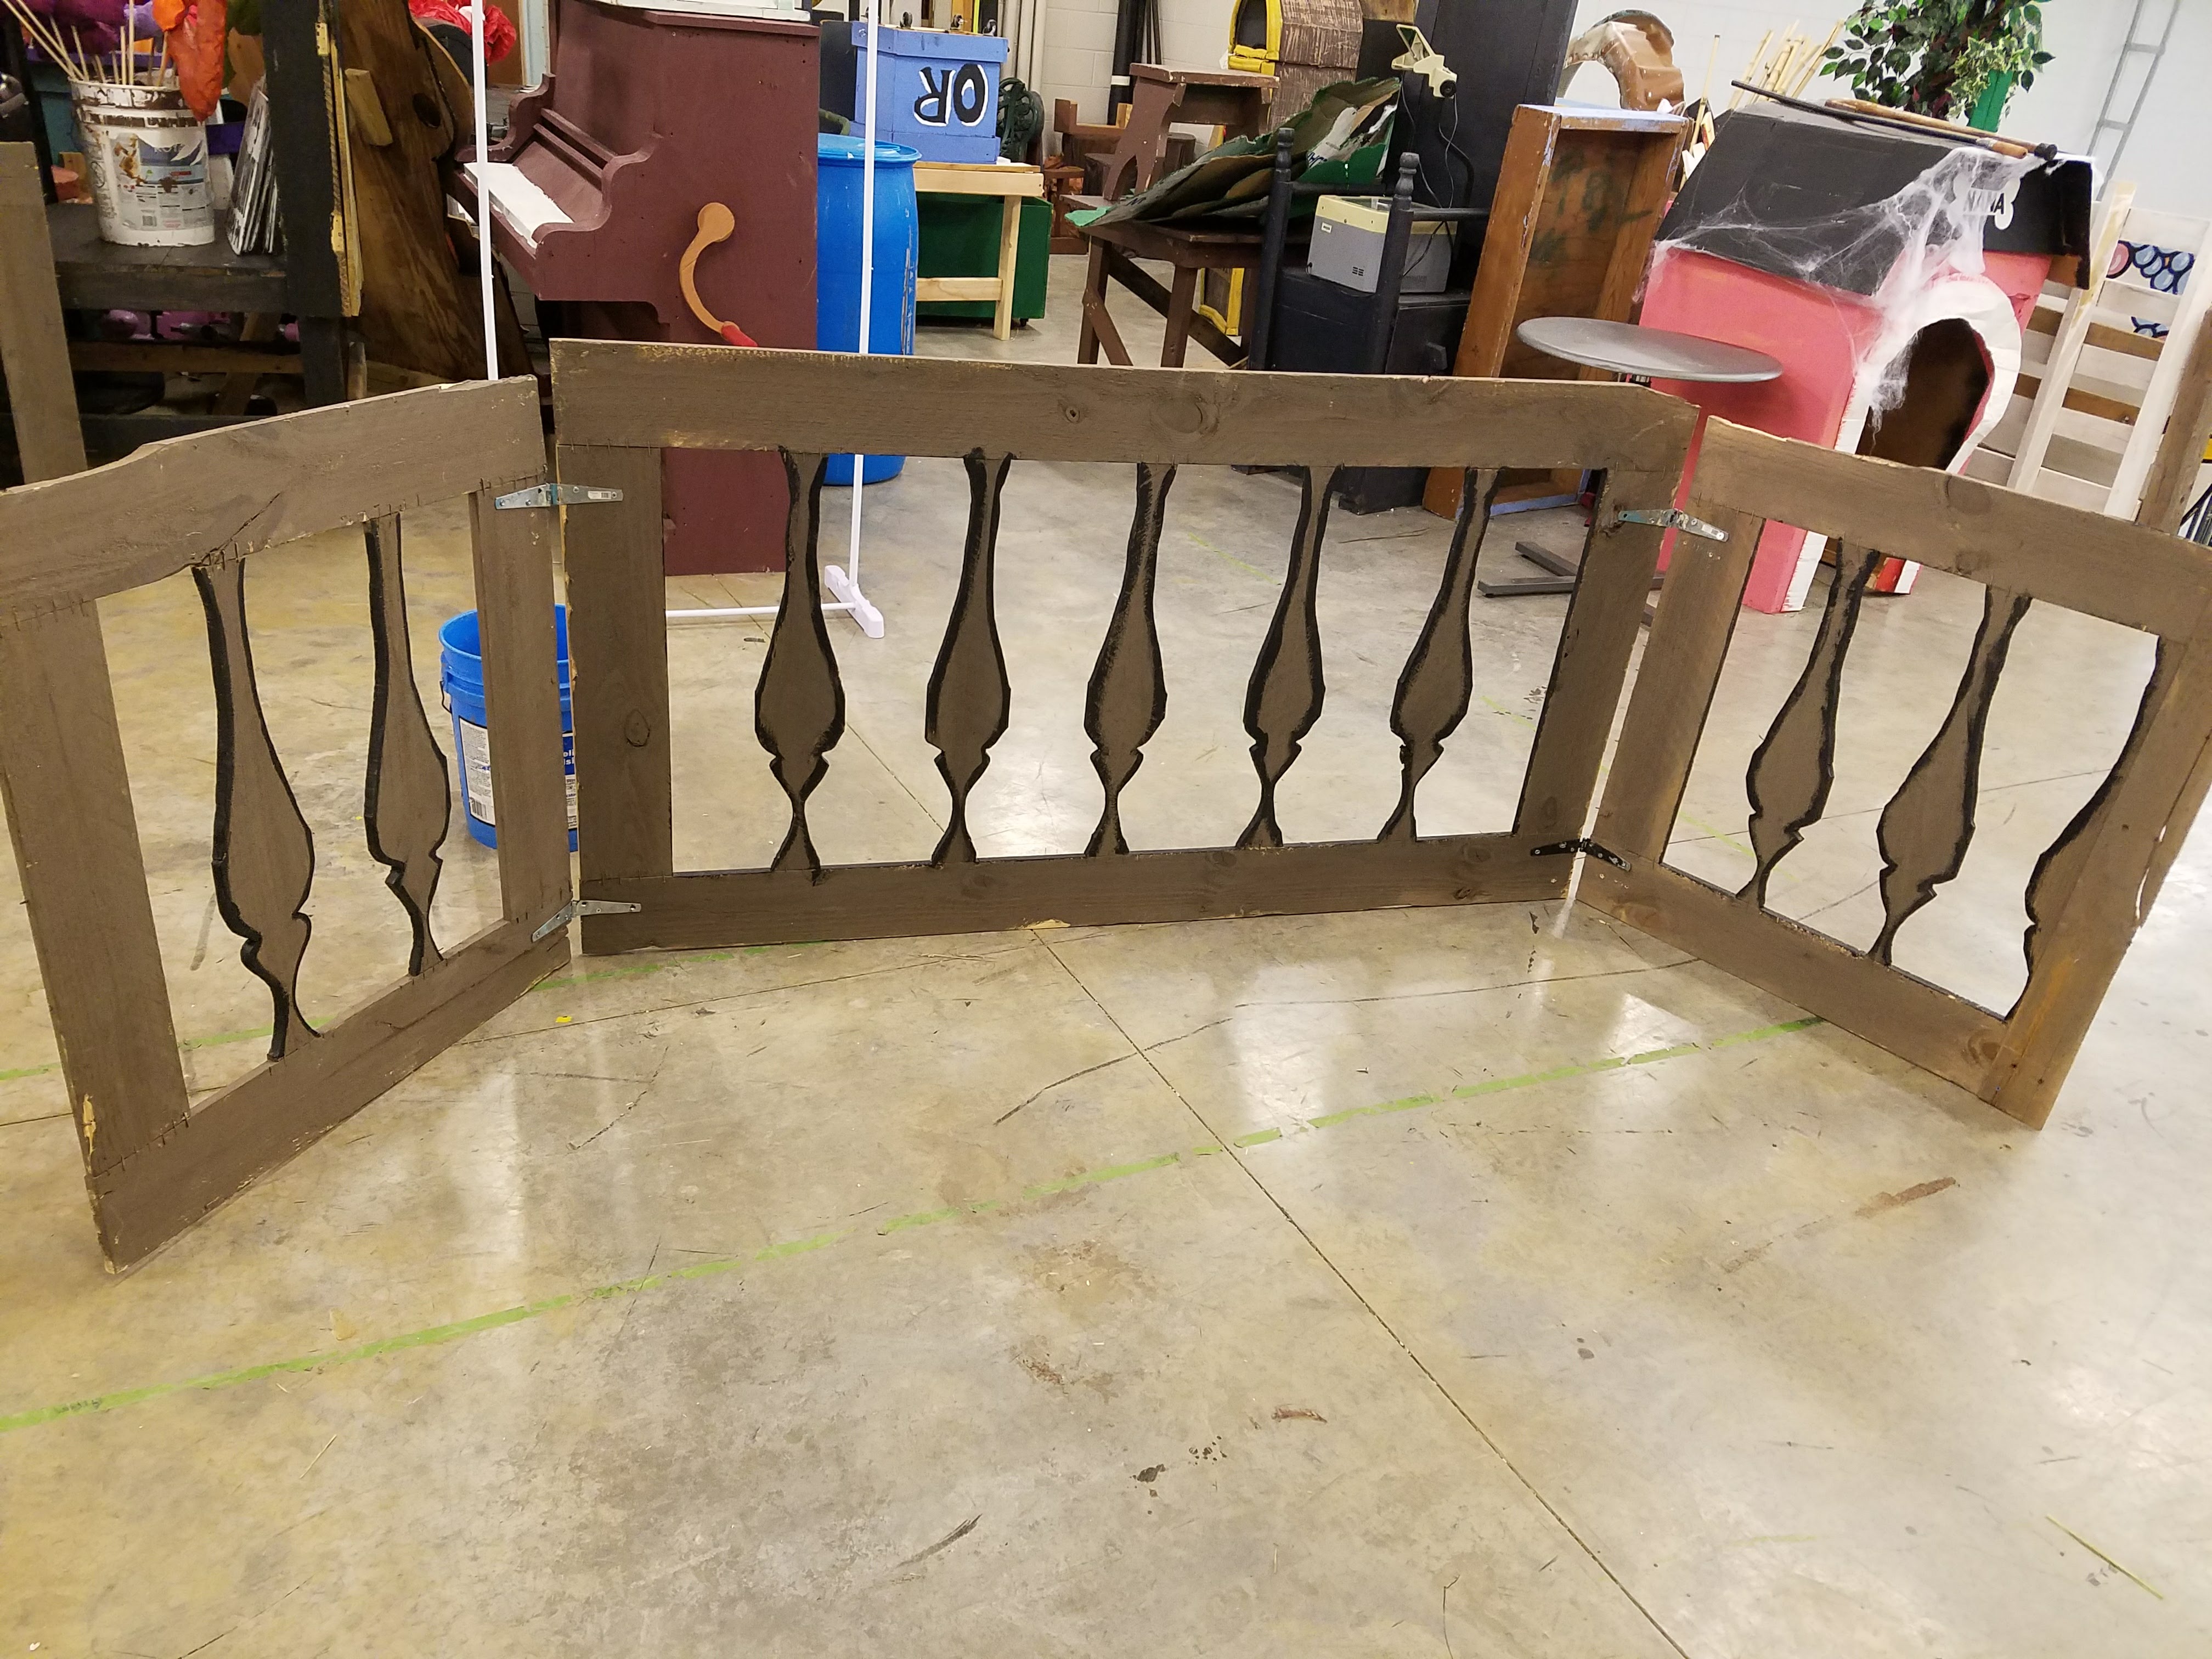
In recreating the deck of the Jolly Roger for my production of Peter Pan, I wanted railing that looked decorative yet battered and worn. I had recently acquired a couple of large shipping crates that stood about waist high, which would do perfectly for this project.


Supplies:
- 2 large shipping crates
- Flat Screwdriver
- Needle Nose Pliers
- Strap Hinges
- Small screws
- A Drill
- Brown and Black paint
- a 3″ brush and a 1″ brush
- A jig saw
- Craft Paper or Cardboard
 Pencil or black chalk
- Scissors
Step 1: Disassembling
First, I unattached the upper portion of the shipping crate from the pallet to which it was attached in order to transport it to my scene shop for assembly. It had been attached with large staples, so I used a flat screwdriver and needle nose pliers to separate it from the pallet. I prefer Kobalt brand hand tools because they are easy to grip. I didn’t need the pallet for this project. Then I spent time removing all of the staples from the top and bottom. I also separated the 4 sides of each crate.

Step 2: Railing Design
Initially, I took some cardboard and free-handed my own spindle design. Then I used a box cutter to cut it out. If you already have a 2-d spindle design that you’d like to duplicate, use some painter’s tape to tape some craft paper over the design and then use chalk to trace the design. Use some scissors to cut out your design from the craft paper. Either way you choose, you’ll have a stencil to mark for each of your “spindle’s”. I penciled my design onto each board except for the outer boards because I wanted them to remain very sturdy for hinging. After they’re all marked, use a jigsaw to cut out your design. Once they’re all cut out, you’re ready to assemble your railings.
Step 3: Re-Assembling
In order to create two freestanding railings, I only needed one long side and the two short ends of each crate. The other 2 long sides are still in my shop awaiting a future project. Attach a short railing to either side of a long railing using hinges and short screws. My end railing pieces weren’t as tall as my long, middle railing, so I had to make sure to attach them while upright so that they would be flush with the ground on all three sides.


Step 4: Paint & Finishing Touches
I put a coat of brown paint on all of the railings and hinges. Then I outlined the spindles in black. One really neat thing that I like about the railing is that although they make a big impact onstage, they fold away neatly for storage because of the hinges. If you wanted your railings to be REALLY long, you could include both long railings in your project with the two long railings hinged together and the short railings hinged on the outermost sides. The two sets of three were all what I needed though.
 You can see the railing in the bottom left of this picture of my Jolly Roger set. I may have to make a post of how I made my sails, captains wheels, crates, and mast. I couldn’t believe how easy those were; plus, they didn’t cost me an arm and a leg.

