 Statue of Liberty Torch Prop Tutorial
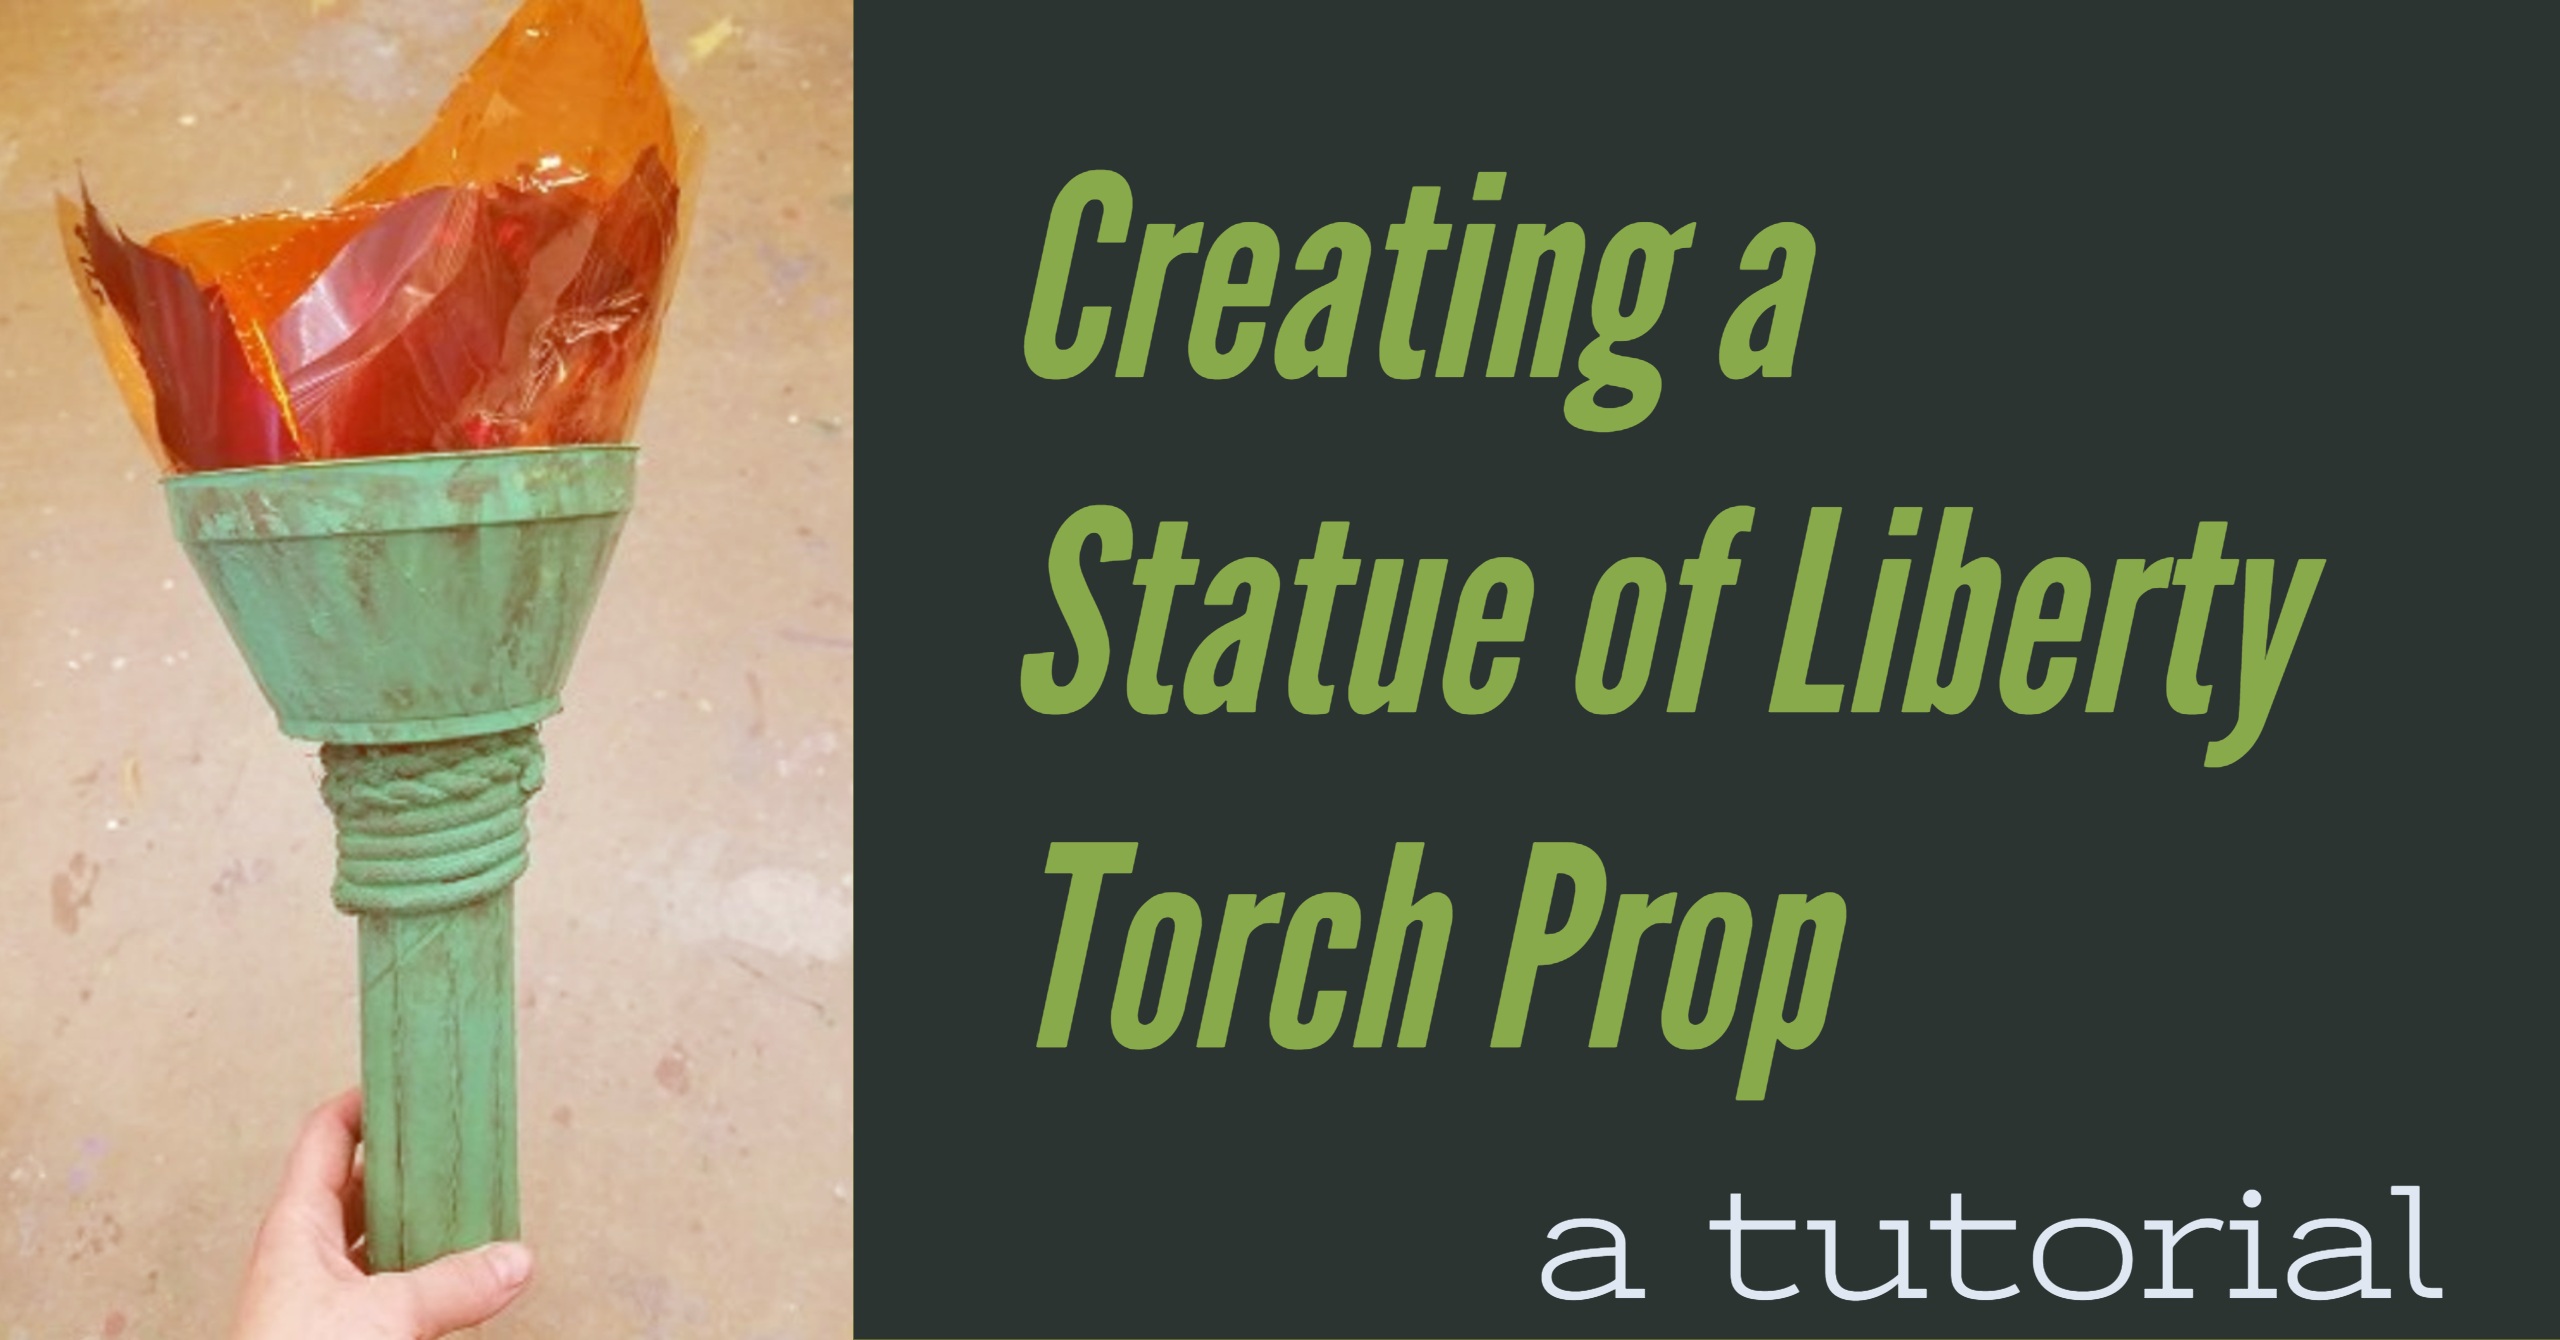
For one of my recent shows, I needed a torch for a character playing the statue of liberty. Here is how I created it.
Step 1: I gathered my supplies.

- an empty paper towel roll (a thick, sturdy one will stand up to repeated use)
- a plastic bowl, a couple of different types of rope
- some gel scraps from my light storage room (used for theatrical lighting instruments but any colored, translucent plastic will work)
- adhesives: E-6000 & hot glue. The hot glue is good for temporary adhesion while the E-6000 dries and provides a more permanent bond. (links at bottom if you need them)
Step 2: Connecting everything
First I connected the cardboard tube to the plastic bowl using E-6000 first and then ran a ring of hot glue around the outside of  it to secure it until the E-6000 dries. Next, I took the wider rope and wrapped it closest to the bowl around the tube, securing it in place with hot glue. Then I added the thinner rope to add texture and depth. Next I hot glued the gel scraps into the bowl, leaving enough space in the center to place a battery operated candle. Once everything was together, it looked like it was missing something, so I used the width of a tape to draw lines with an ink pen. I went over these with a bead of hot glue for some depth.
Step 3: Paint

To pull it all together, I added a solid coat of latex paint in a mint color that I mixed using some green and white that I had on hand. Once this was dried, I used a piece of t-shirt (wet and wrung out) to gently rub on some watered down latex paint. I blotted most of this off so that it added shadows and gave it sort of a verdigris look. Be careful not to get it on your gels (You could add the gels after the paint process, if you’re worried about getting paint on them.). Let everything air dry, and that’s it. I think the whole process, including mixing my paint and drying time, took under an hour.

Featured Items:


416 Comments