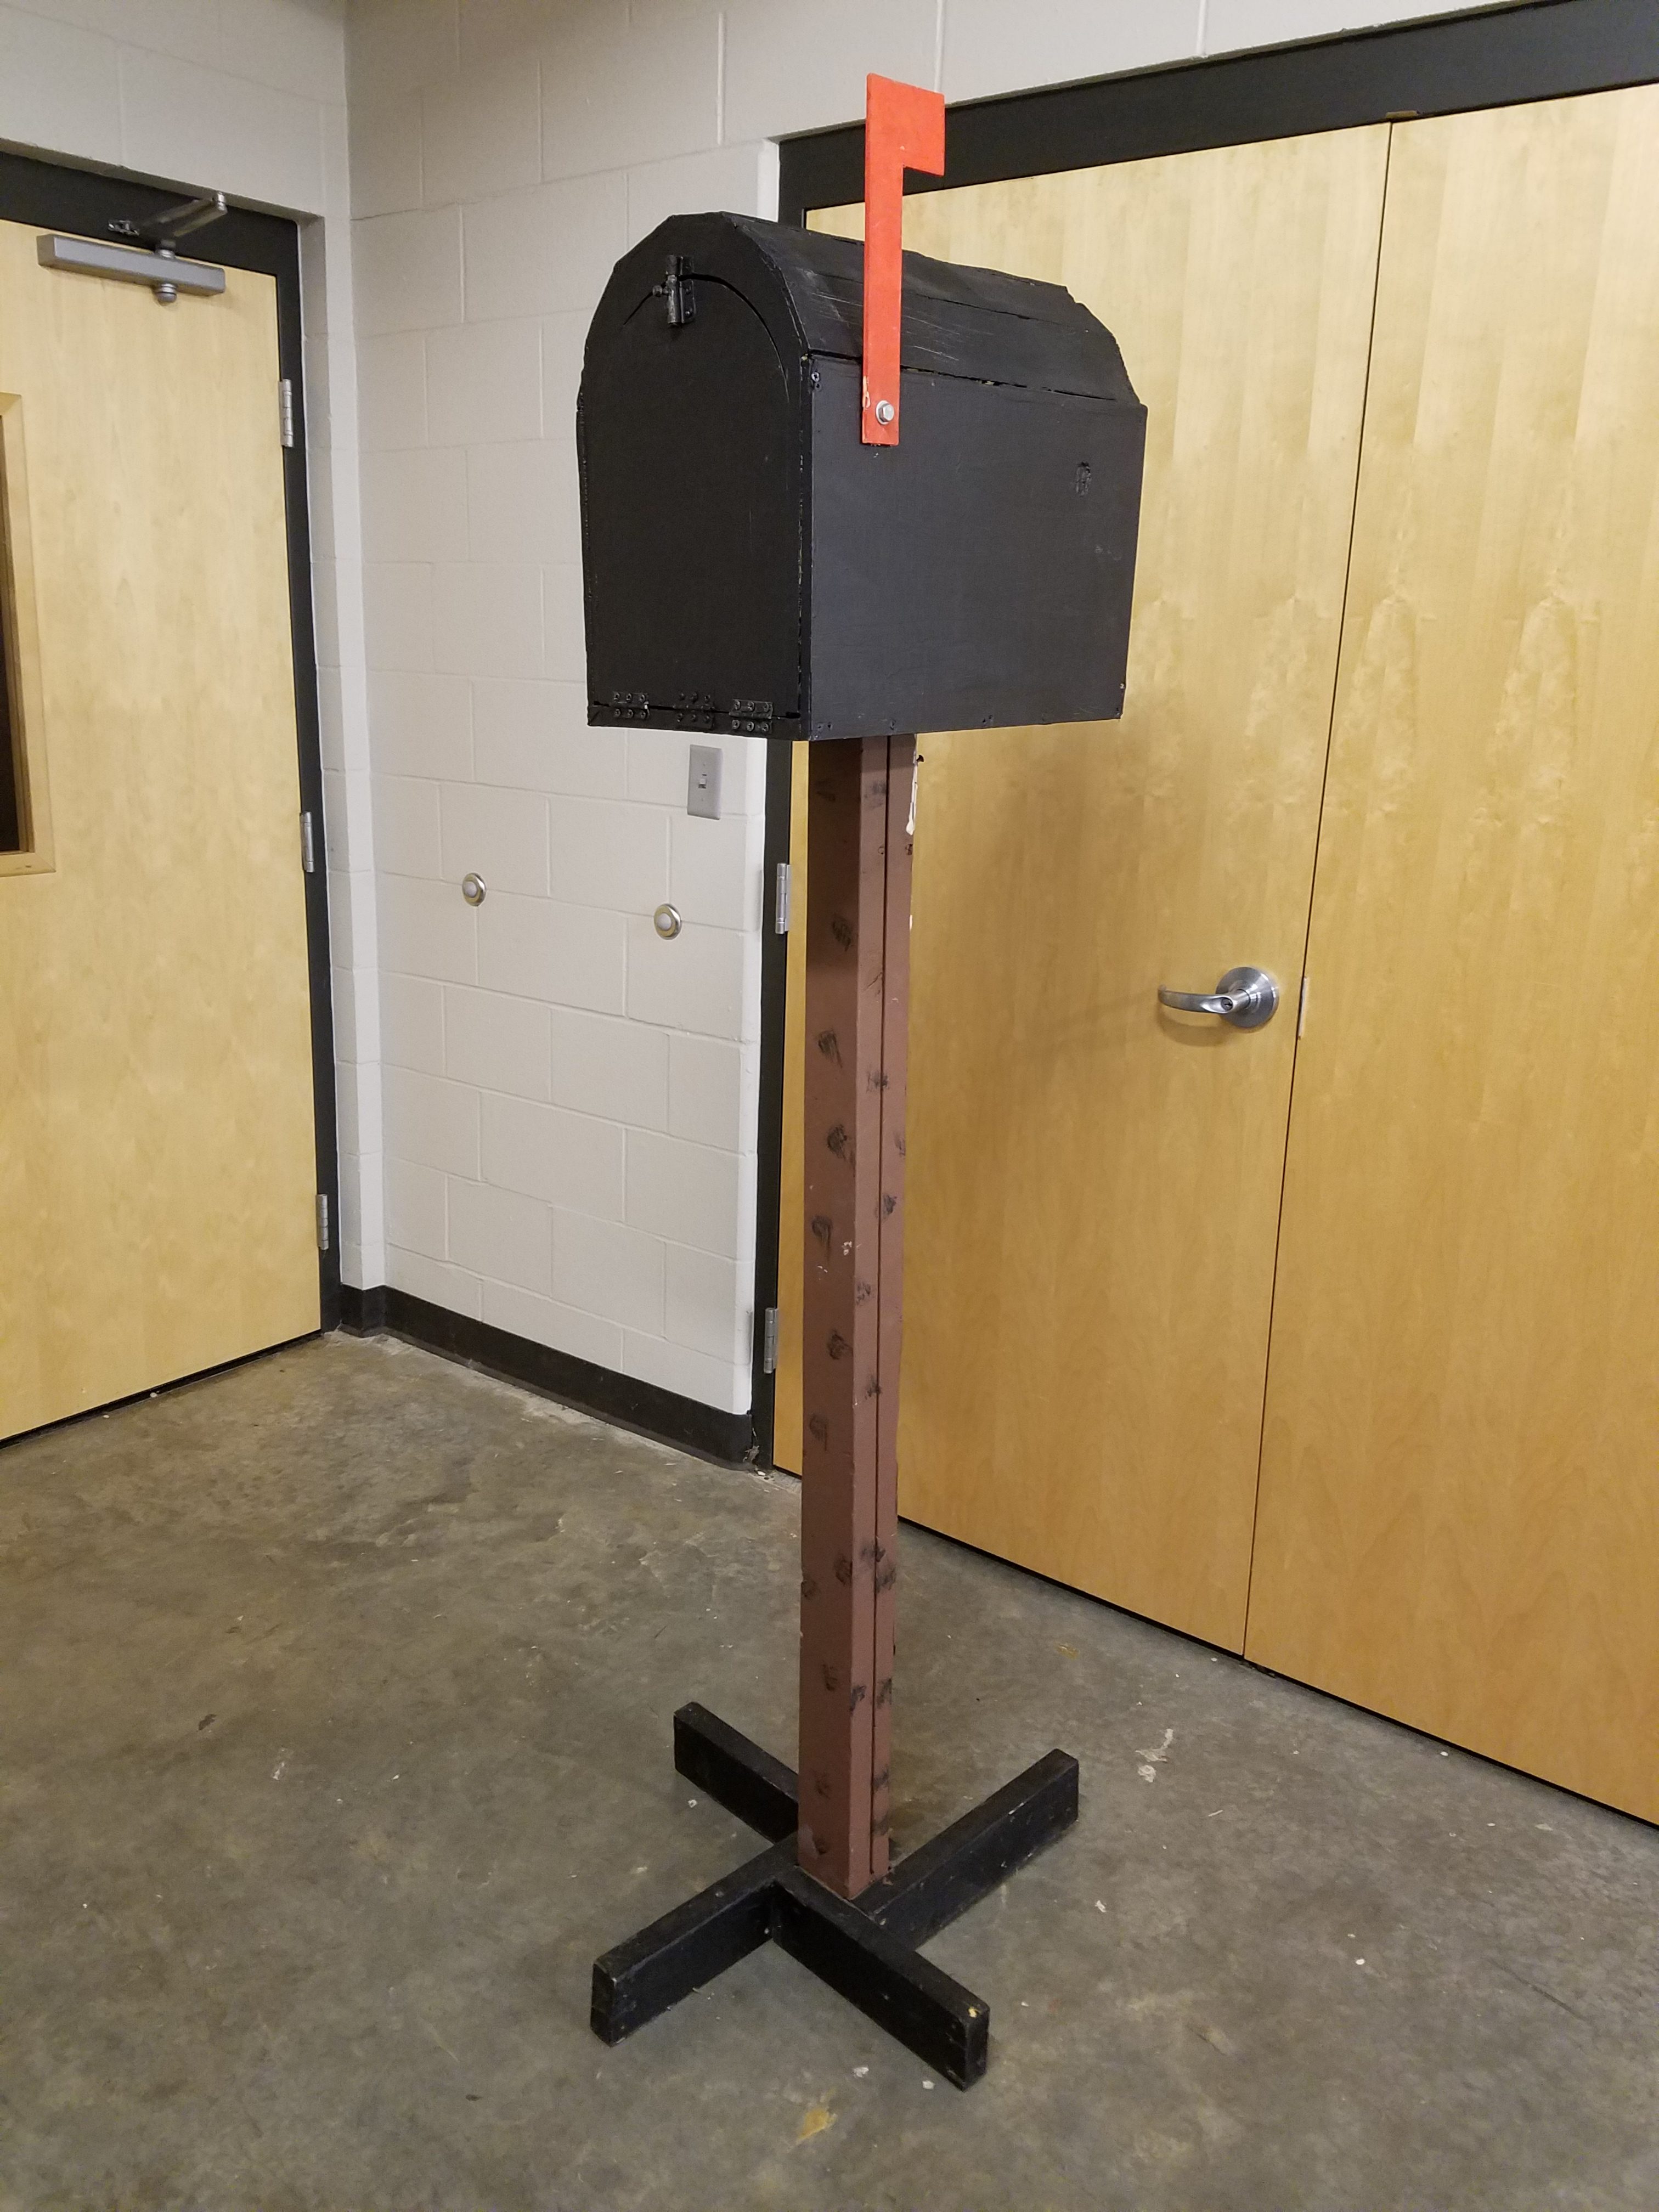
Creating an Humongous Mailbox Prop for Charlie Brown


Supplies:
- 1/2″ plywood
- 1/4″ plywood
- two 8′ 2″x4″s
- 2-3 small hinges
- 1/2″, 3/4″, & 2 1/2″ screws
- a Drill
- A jig saw
- Wood Putty
- White or black paint
- Red paint
Step 1: Cutting out the Mailbox
For the front and back, I used scrap 1/2″ plywood that I had for the front and back of my mailbox. I used a bucket to mark the rounded edge of the mailbox onto the two pieces of plywood which were already in a rectangular shape. I used a jigsaw to cut along my mark. For the front opening, I marked the opening of the mailbox on one of the now rounded pieces of plywood and jigsawed it out. For the sides, I took a couple of pieces of 1/4″ plywood cut 18″ long. The height was determined by where the curve in my front and back pieces began and I added 1/2″ to this measurement to account for my base. For the top, I cut four 3″wide x 18″ long. For the base, I cut a piece of 1/2″ 18″ long and the same width as my front and back piece. I cut the flag out of 1/4″ plywood also.
Step 2: Assembling the Mailbox
Using 1/2″ screws, I attached the two sides to the base (do not set the sides on top of the base, but rather on either side of it). Then I sat the back in place and using 1/2″ screws attached it through both the side pieces. Then I turned it on it’s side and secured it from the bottom as well. I used the same method for attaching the front.
After the front is attached, I screwed one side of the hinge onto the bottom of the door. Then I sat the door in place in the opening and attached the bottom of the hinge to the bottom  front of the mailbox. It’s easier to do this before you put the top on because it allows you to hold onto the door better. Also, I later realized that 1 hinge wasn’t sufficient for such a heavy door, so I added a couple more small hinges and a chain to keep the door from stressing the hinges when it’s opened up. The door didn’t want to stay closed, so I added the latch.
For the top, I screwed the four 3″x18″ strips of 1/4″ plywood using 1/2″ screws. You may find that different dimensions work better for your top, so adjust as necessary based on your chosen dimensions.


Now, line up where you want to attach your flag and drill a hole through both the side wall and flag stem at the same time (You could do it separately if you want, but this saves time, which I never seem to have enough of). Do not attach the flag yet.
Cut one of your 2″x4″s in half and screw the two halves together to make a 4″x4″ using 2 1/2″ screws. Then cut the other 2″x4″ into four 2′ sections. Place one of the 2′ pieces perpendicular at the base of your 4″x4″ and screw it into place using 2 1/2″ screws. Do this to the remaining three sides.
Step 4: Finishing Touches
I found that there were some small gaps between the top slats, so I filled these with wood putty before painting. Be sure to allow it dry before painting. When I first did this project, I wanted a white mailbox, so I put a solid coat of white on it. Later, I needed a black mailbox, so now it’s black. I went over the hinges with black so that they didn’t stand out. Paint the flag red and allow to dry. Flip it over and paint the other side and the edges. Once the flag is dry, put a washer over the hole on the outside, sit the flag in place; add another washer and thread the bolt through the hole. Add a washer to the inside and thread your nut on just enough that the flag will still raise and lower without falling on it’s own. Finally, attach the mailbox to the stand from the inside using a couple of 3/4″ screws. If you find that you can’t get your drill inside, you can attach it using a couple of L brackets from underneath.


Creating the oversized mailbox took a couple of days, mainly because I had to wait on the paint to dry. It’s not a hard project, although it does require a bit of experience with a jigsaw and drill. Happy building, Charlie Brown!


