If big is good, bigger must be better!
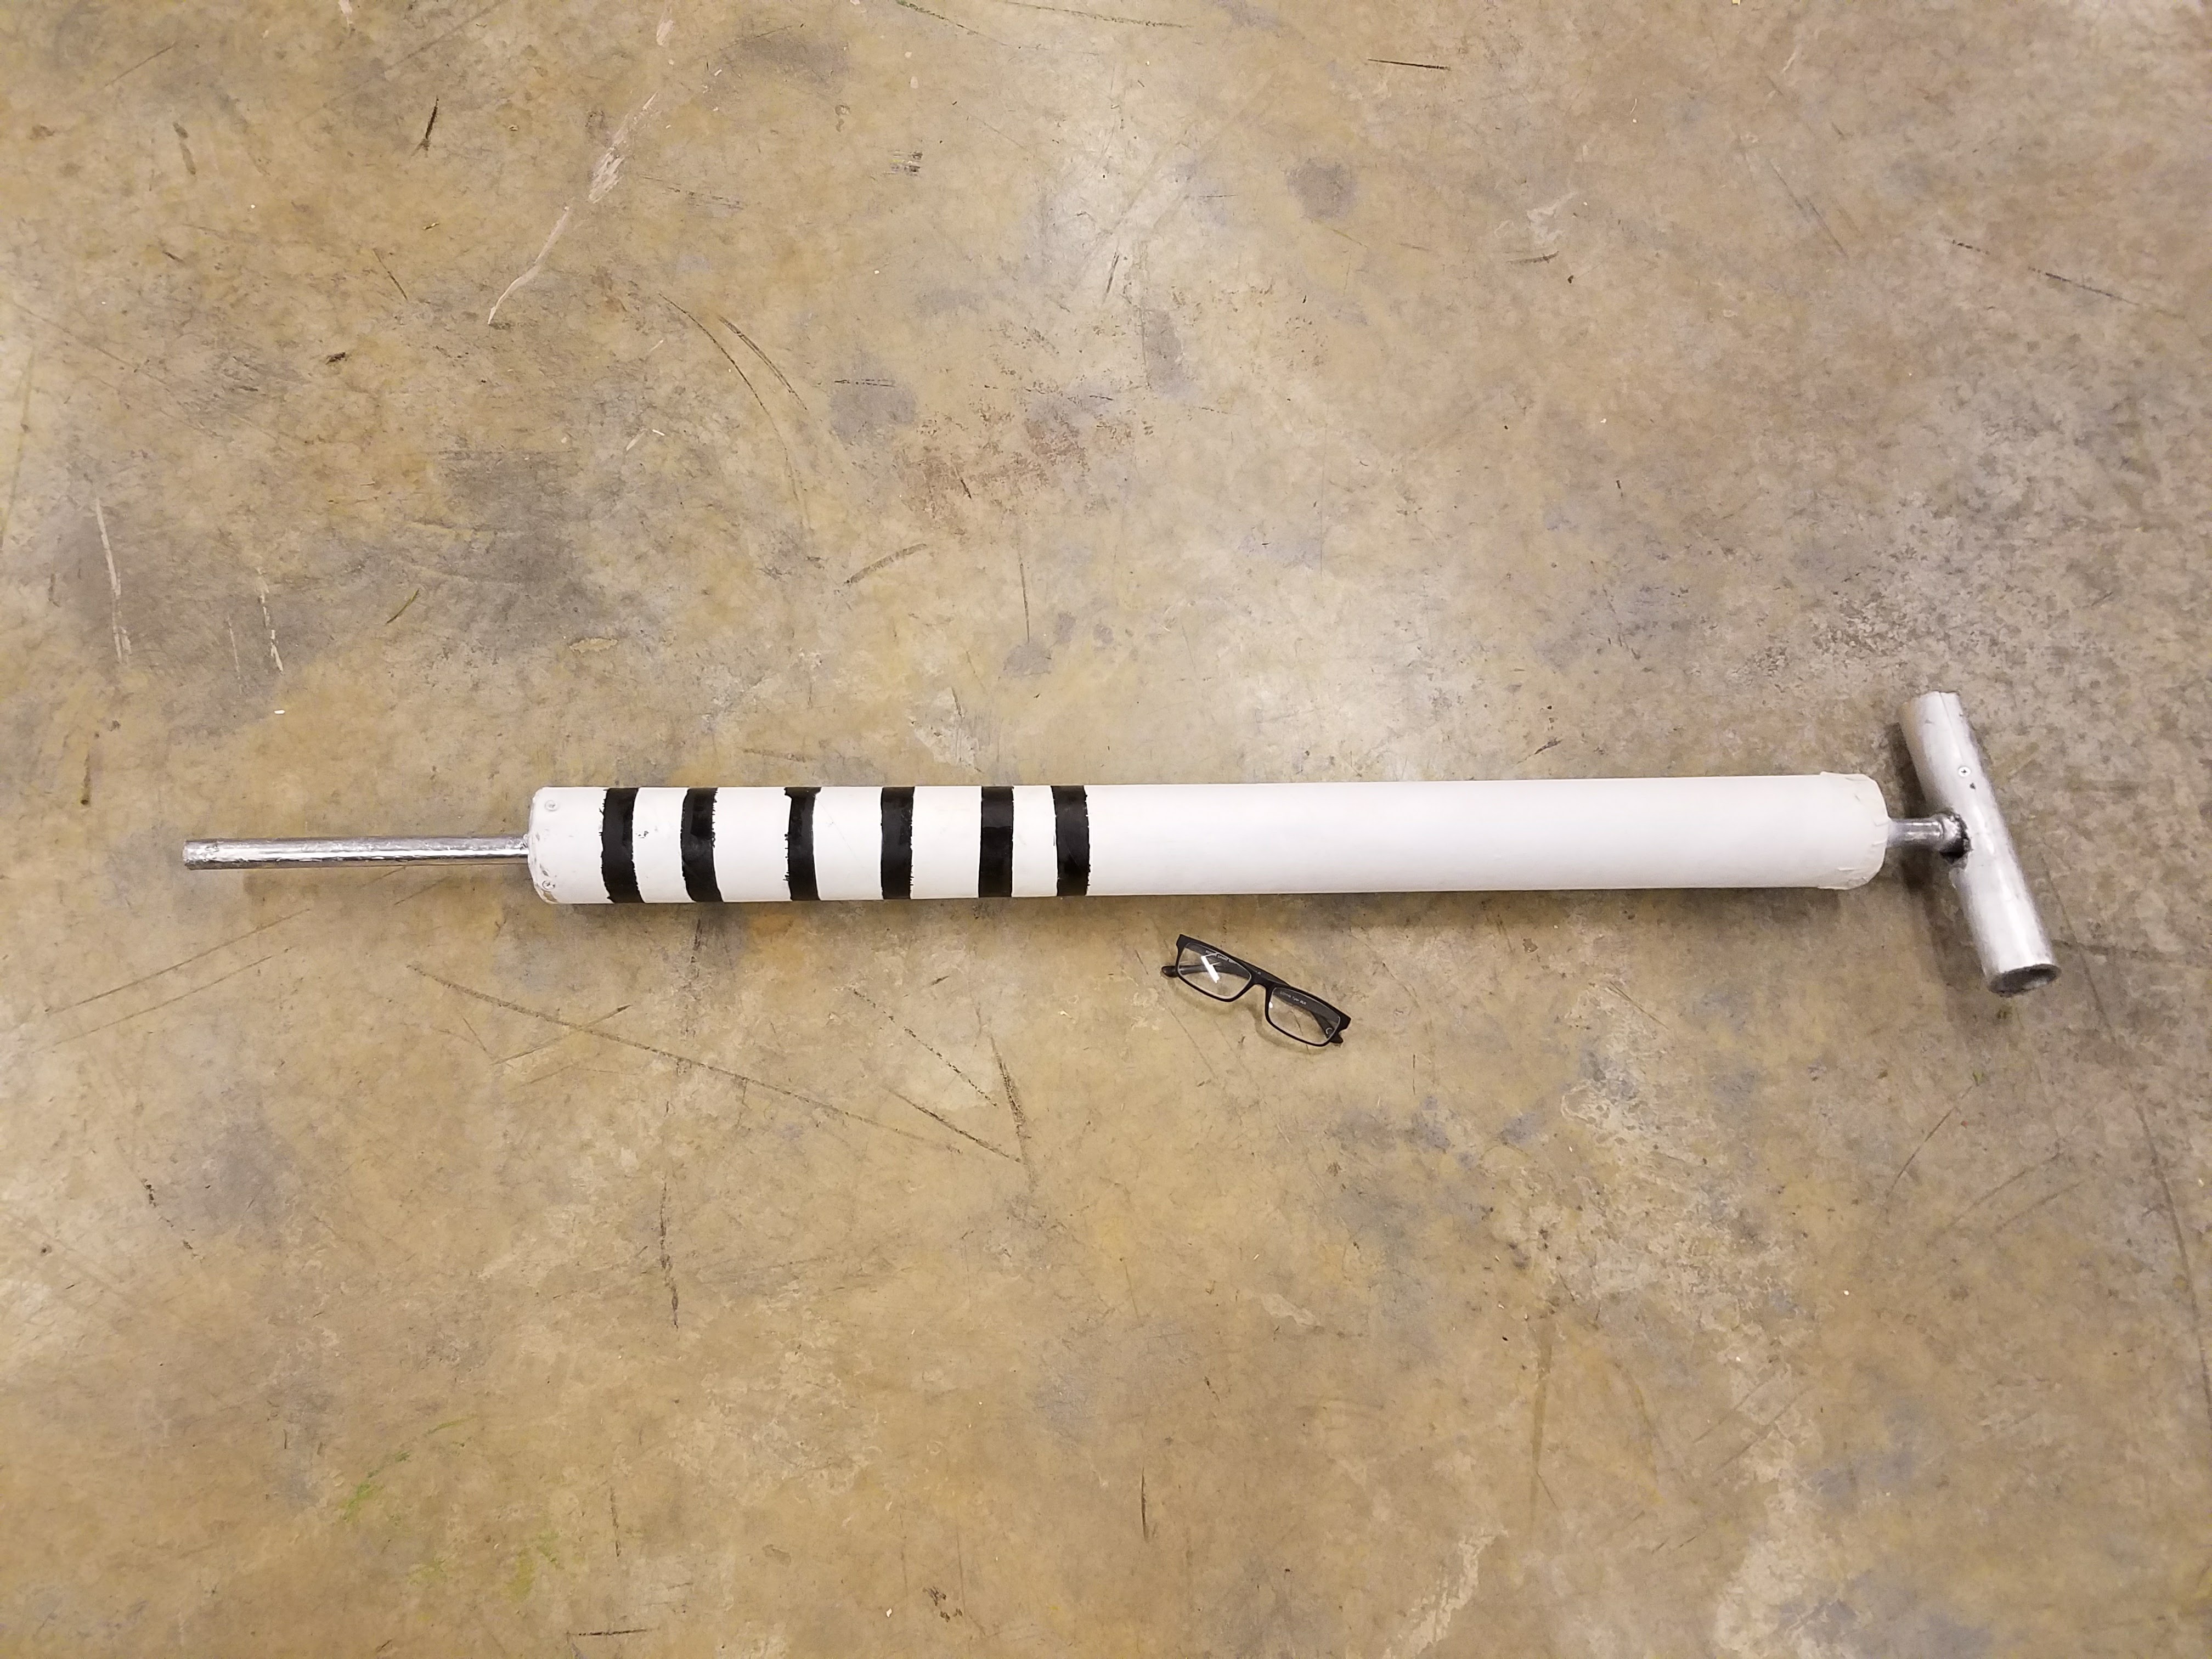
Or so it is in the case of the larger than life hypodermic needle prop that I wanted for the School House Rock song  Interjections! It was a cinch to make, also. If you’ll look at the pic, you’ll see my glasses sitting beside it for a size reference.
Supplies:
- Large Shipping tube
- Smaller shipping tube or very sturdy paper towel tube (I used one from school; those things are tough).
- a 1/2″ round stick cut into 1 1/2″ pieces (or a dowel, if you happen to have one)
- 1″ PVC pipe cut 1′ longer than the length of your large tube
- 1″ PVC Elbow
- 3/4″ screws
- Styrofoam board
- Liquid Nails Projects & Foam board Adhesive (LN-604)-specified for use with foam, others will destroy the foam
- PVC glue
- box cutter with long blade
- hammer/rubber mallet
- radial arm saw/miter saw, hack saw, or PVC saw
Step 1: Cutting your PVC and Shipping Tubes
When I first did this project, I had no idea how to cut PVC, but having worked in a shop, my first instinct was to use the radial arm saw. This worked well for me, however, since then, I’ve also cut PVC using a hack saw and a small saw meant just for PVC. All three were easy, so whichever you have access to is what I recommend to cut your PVC to length. I used the same method for cutting my shipping tubes for my plunger. I was already happy with the length of the tube being used for the barrel, so I left it as was. You’ll want the PVC to stick out at least 6″ on the needle end of the tube acting as the barrel and 6″ on the plunger end. You’ll want to cut a plunger handle from your smaller tube if you don’t already have a tube about 8″ long.
Step 2: Stabilizing
Once your PVC is cut to length. you’ll want to secure it into place with two pieces of foam board cut to fit snugly inside the large tube. one on each end. To get the correct diameter, put some paint on the end of your tube and use it like a stamp on the foam board. Do this twice and then cut out the two circles using a utility knife. Use the PVC to make an impression on the center of each foam board circle and then cut out the center circle using a utility knife. Apply the Liquid Nails around the circles before inserting the them inside of each end of the tube, Then secure the each foam board circle into place with a few screws.
***I have lots of scrap foam board lying around, so this was the material choice for me. However, if you are in short supply, you may find that cardboard will work just as well. If using cardboard, however, I would advise layering it up so that it’s sturdy enough. You could use the liquid nails to secure your layers together as well as hold them in place.

Step 3: Adding the PVC
Next, slide the PVC through both ends and determine where you want everything to line up. Make a couple of marks on your PVC with permanent marker both above and below the barrel. Take the PVC out and use a 1/2″ drill bit to make your holes all the way through both sides. Slide your piece of PVC back in place and gently tap the piece of stick through the holes using either a hammer or rubber mallet. This will keep your PVC from sliding out on you. Our needle didn’t actually plunge in and out. You could adjust where the stick stoppers are in order to do that, but be aware that rough use would damage your foam bard. If this is something you’re wanting to consider, then you will want to use wood circles instead of PVC ones, which will require some woodworking skills.
Step 4: Assembling the Plunger 
For the plunger, I began by attaching the PVC elbow to the end of my PVC pipe using PVC glue. The purpose of the elbow is to provide a surface to attach the handle. Slide the cardboard tube over the end of the elbow and turn it perpendicular to the PVC pipe. Then screw through the cardboard tube into the elbow from both the top and bottom in order to hold the tube securely in place. I also added some liquid nails in the hole for further stability.
Step 5: Finishing Touches
Before painting, I fill any gaps with Liquid Nails and give it 24 hours to dry. Next , spray paint the needle and plunger with silver spray paint. Once this is dry, paint the barrel white. When the white paint dries, tape off some measurement lines and paint them black.
 This prop was a standout for our show. Hope that making larger than life props is just as fun for you!
*Future Tutorial: The Jukebox just right of center
You might also like…
Oversized Props Tutorial: Creating an Oversized Notepad and Pencil


1 Comment