Creating Oversized Props – 2 Tutorials
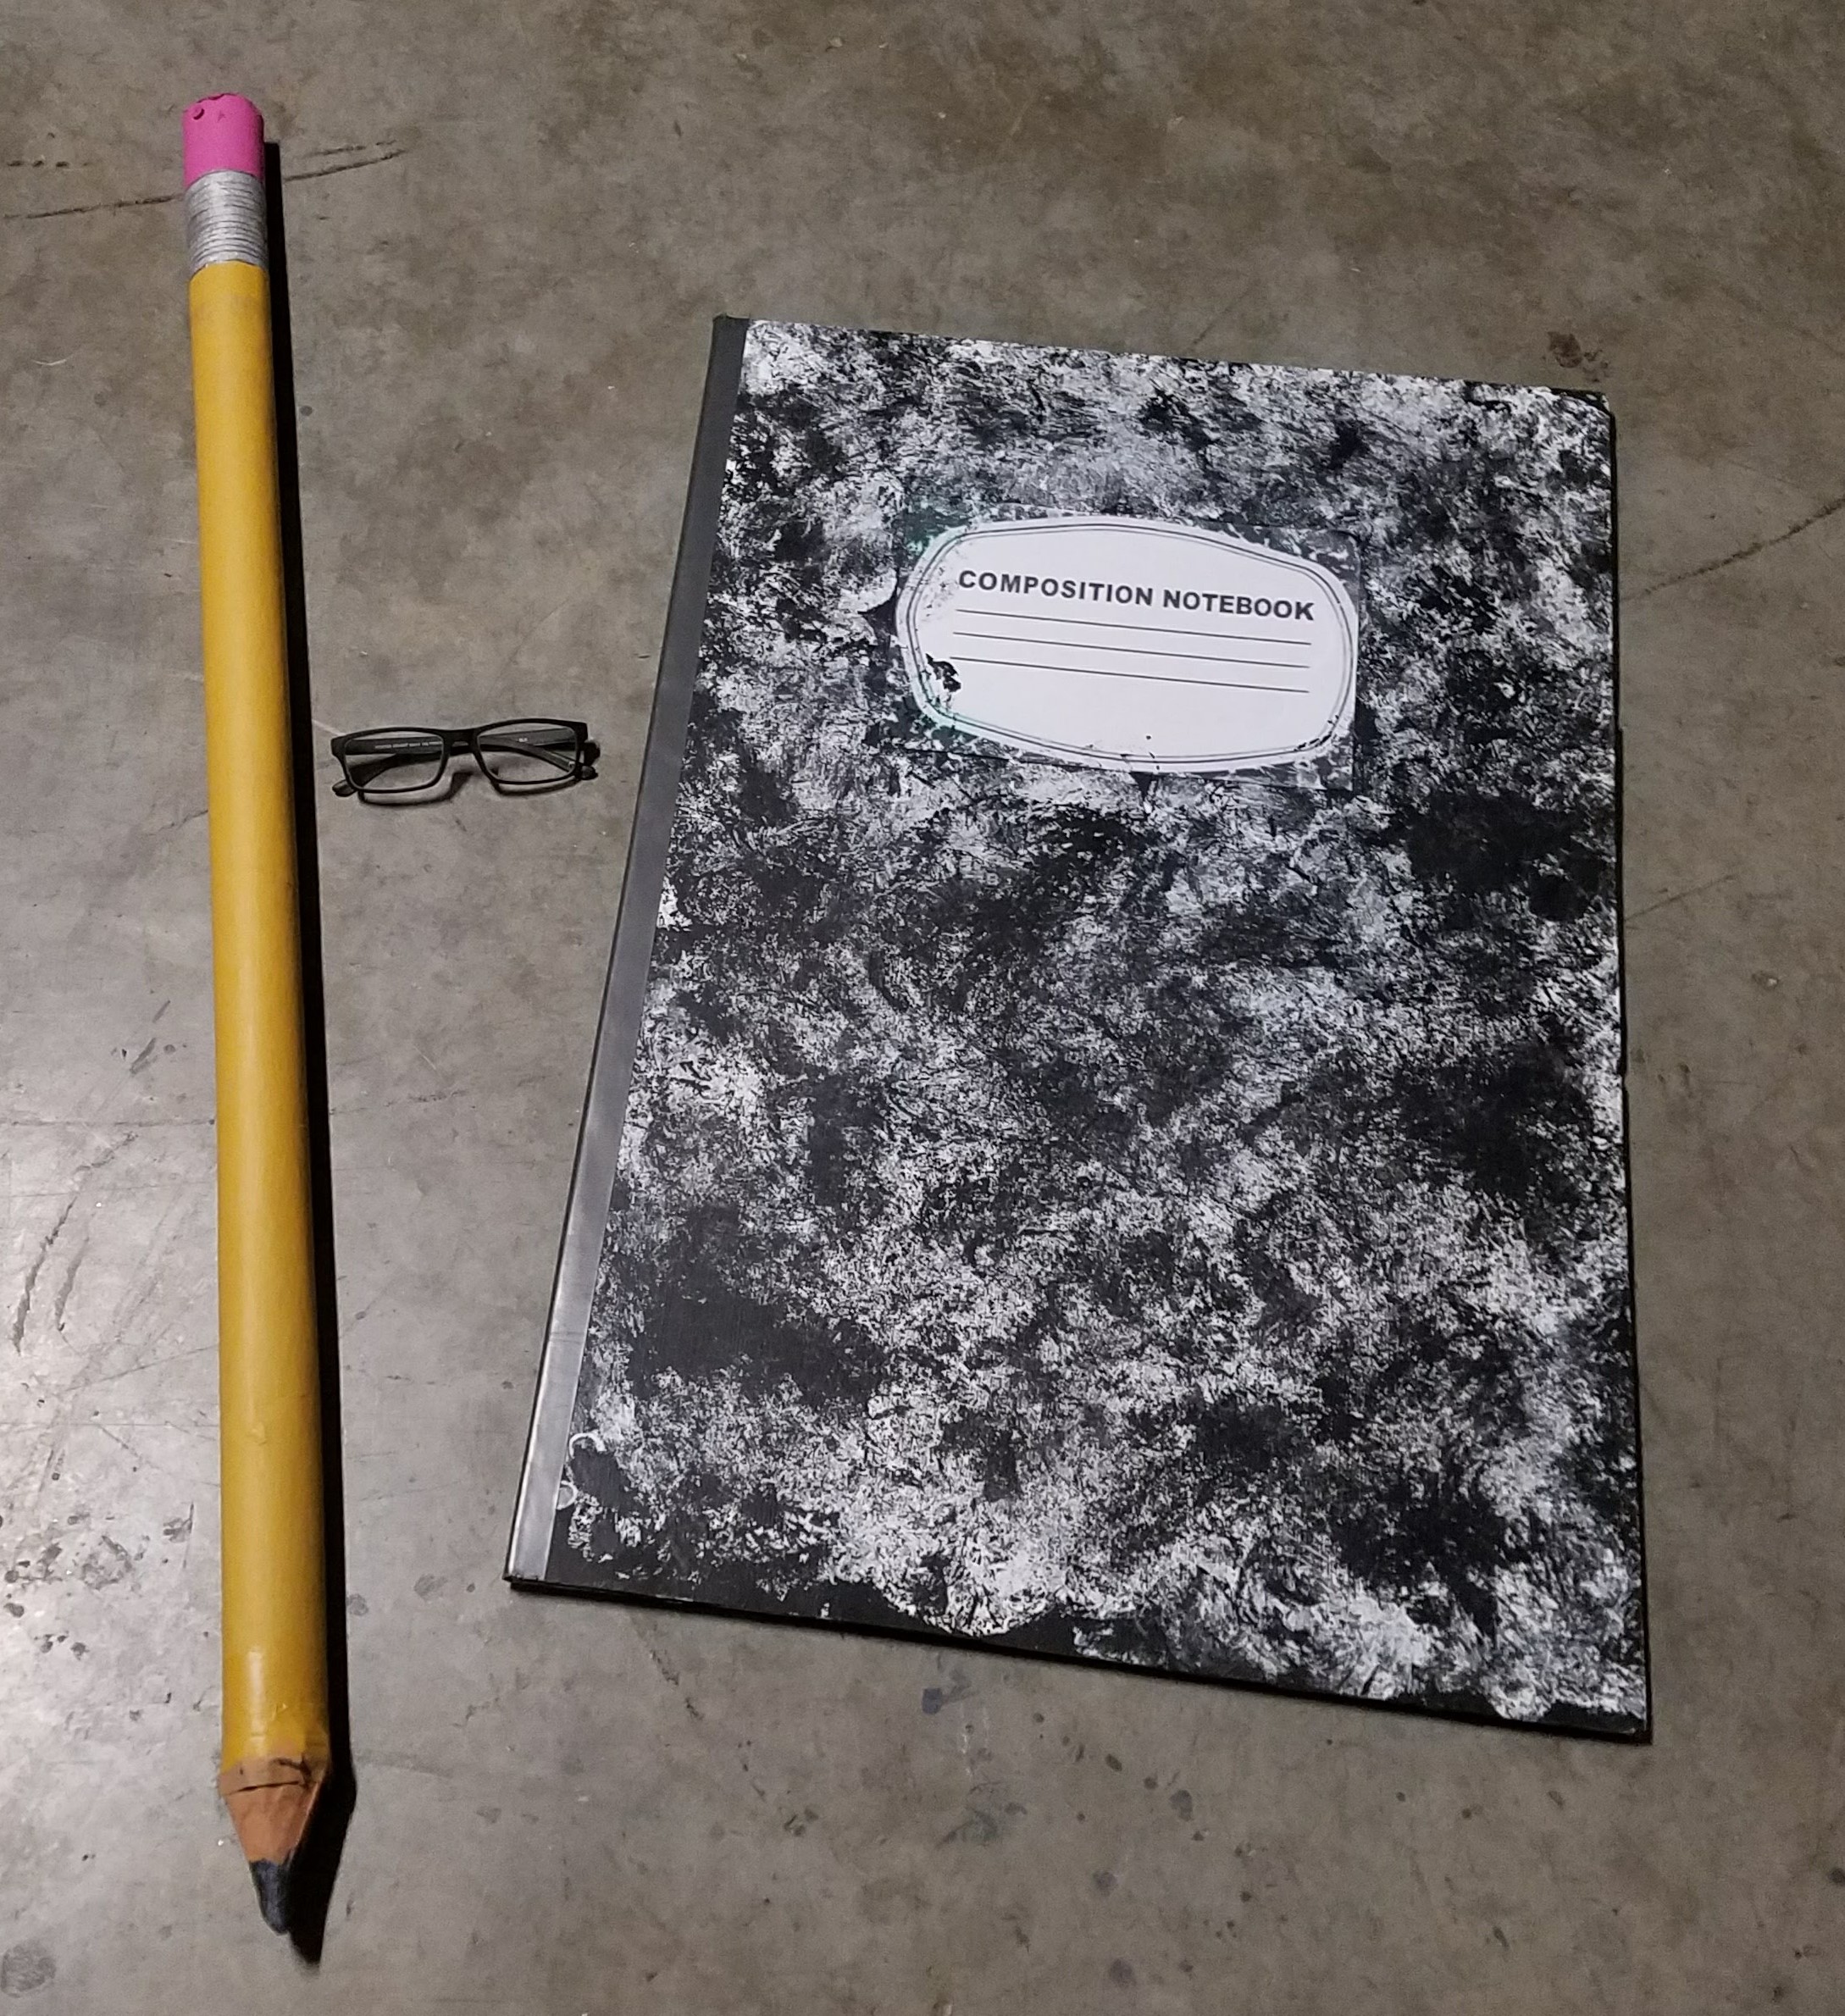
Next spring, I’m planning on producing a play that requires a multitude of oversized props. For this reason, with each new play that I’ve produced recently, I’ve incorporated as many oversized props that I reasonably could. The two newest additions to my collection include a composition notebook and a pencil, which were used by Philostrate in my production of The Seussification of A Midsummer Night’s Dream. Creating these were quick and easy. Lets get started with the Composition Notebook.
Composition Notebook 
Supplies: 
- ELMERS White 2 Count 20″x30″ Foam Boards
- Duct Tape
- Black and white paint
Step 1:
Find an online image for the label that goes on the front of the notebook. I printed this the full size of a sheet of typing paper and used spray adhesive to adhere it to one of the pieces of foam board, which would then be the front of the Composition Notebook. I sprayed over this with matte sealer to give it a more finished look (and to keep the ink from running).
Step 2:
Next, I sponged black paint on the front (being careful not to go over the label). If I had a natural sea sponge, that would have been my ideal tool for sponging, but as it was, I used a bunched up trash bag, which did the trick nicely. I sponged black all over one side of the other piece of foam board as well and then let them dry.
Step 3:
Once dry, I laid the two foam boards side by side, with a 1/4″ between them, and ran a strip of duct tape to connect the two. I then carefully flipped it over and did the same to the opposite side, and that’s really all there was to making the oversized Composition Notebook.
Pencil Tutorial
Supplies:
- Sturdy Cardboard Tube
- Scrap Piece of Cardboard ( I used a flap from a cardboard box)
- Duct Tape
- Painter’s Tape
- Pink, yellow, and grey paint.
- An actual pencil (not mechanical)
- Matte Sealer
- Small scrap piece of foam
- Liquid Nails
- A couple of screws (and a drill)
- Silver Spray Paint
Step 1:
Start off by cutting a small circle of foam to fill the opening of one end of the tube. Any kind of foam will work; I just happened to have some left over from a sheet of foam board insulation that I’d used on a previous project. Use a couple of screws to secure the piece of foam into place and fill in any cracks and uneven edges with liquid nail. Make sure that you use the kind specified for foam board or it will eat away at your foam. Also make sure you let the Liquid Nails dry for about 24 hours before painting.
Step 2: 
Bend the scrap of cardboard into a conical shape and duct taped it together in order to create the tip of the pencil. Then sit it over the tip of the tube and mark where to cut the excess off. Cut the excess off with a box cutter and secure the tip of the pencil onto the tube with duct tape. Use painter’s tape to mark where the eraser will be painted and then paint it pink. Then tape off a few inches lower for painting the yellow onto the pencil. Since the pointy end of the pencil doesn’t need to be perfectly shaped, you can leave it untaped for a jagged look with the paint. Next, shade where the lead would be with an actual pencil. Seal the lead with matte sealer so that it won’t smudge. Next, remove the painter’s tape from the top and reapply painter’s tape over the edge of the pink and yellow, leaving a space to spray paint silver. Once painted, draw ridges over the silver with a pencil and again seal it with matte sealer.
In Conclusion
Each of these projects took less than an hour (not counting drying time). This project was quick and easy, but still gave me the professional results that I wanted.


