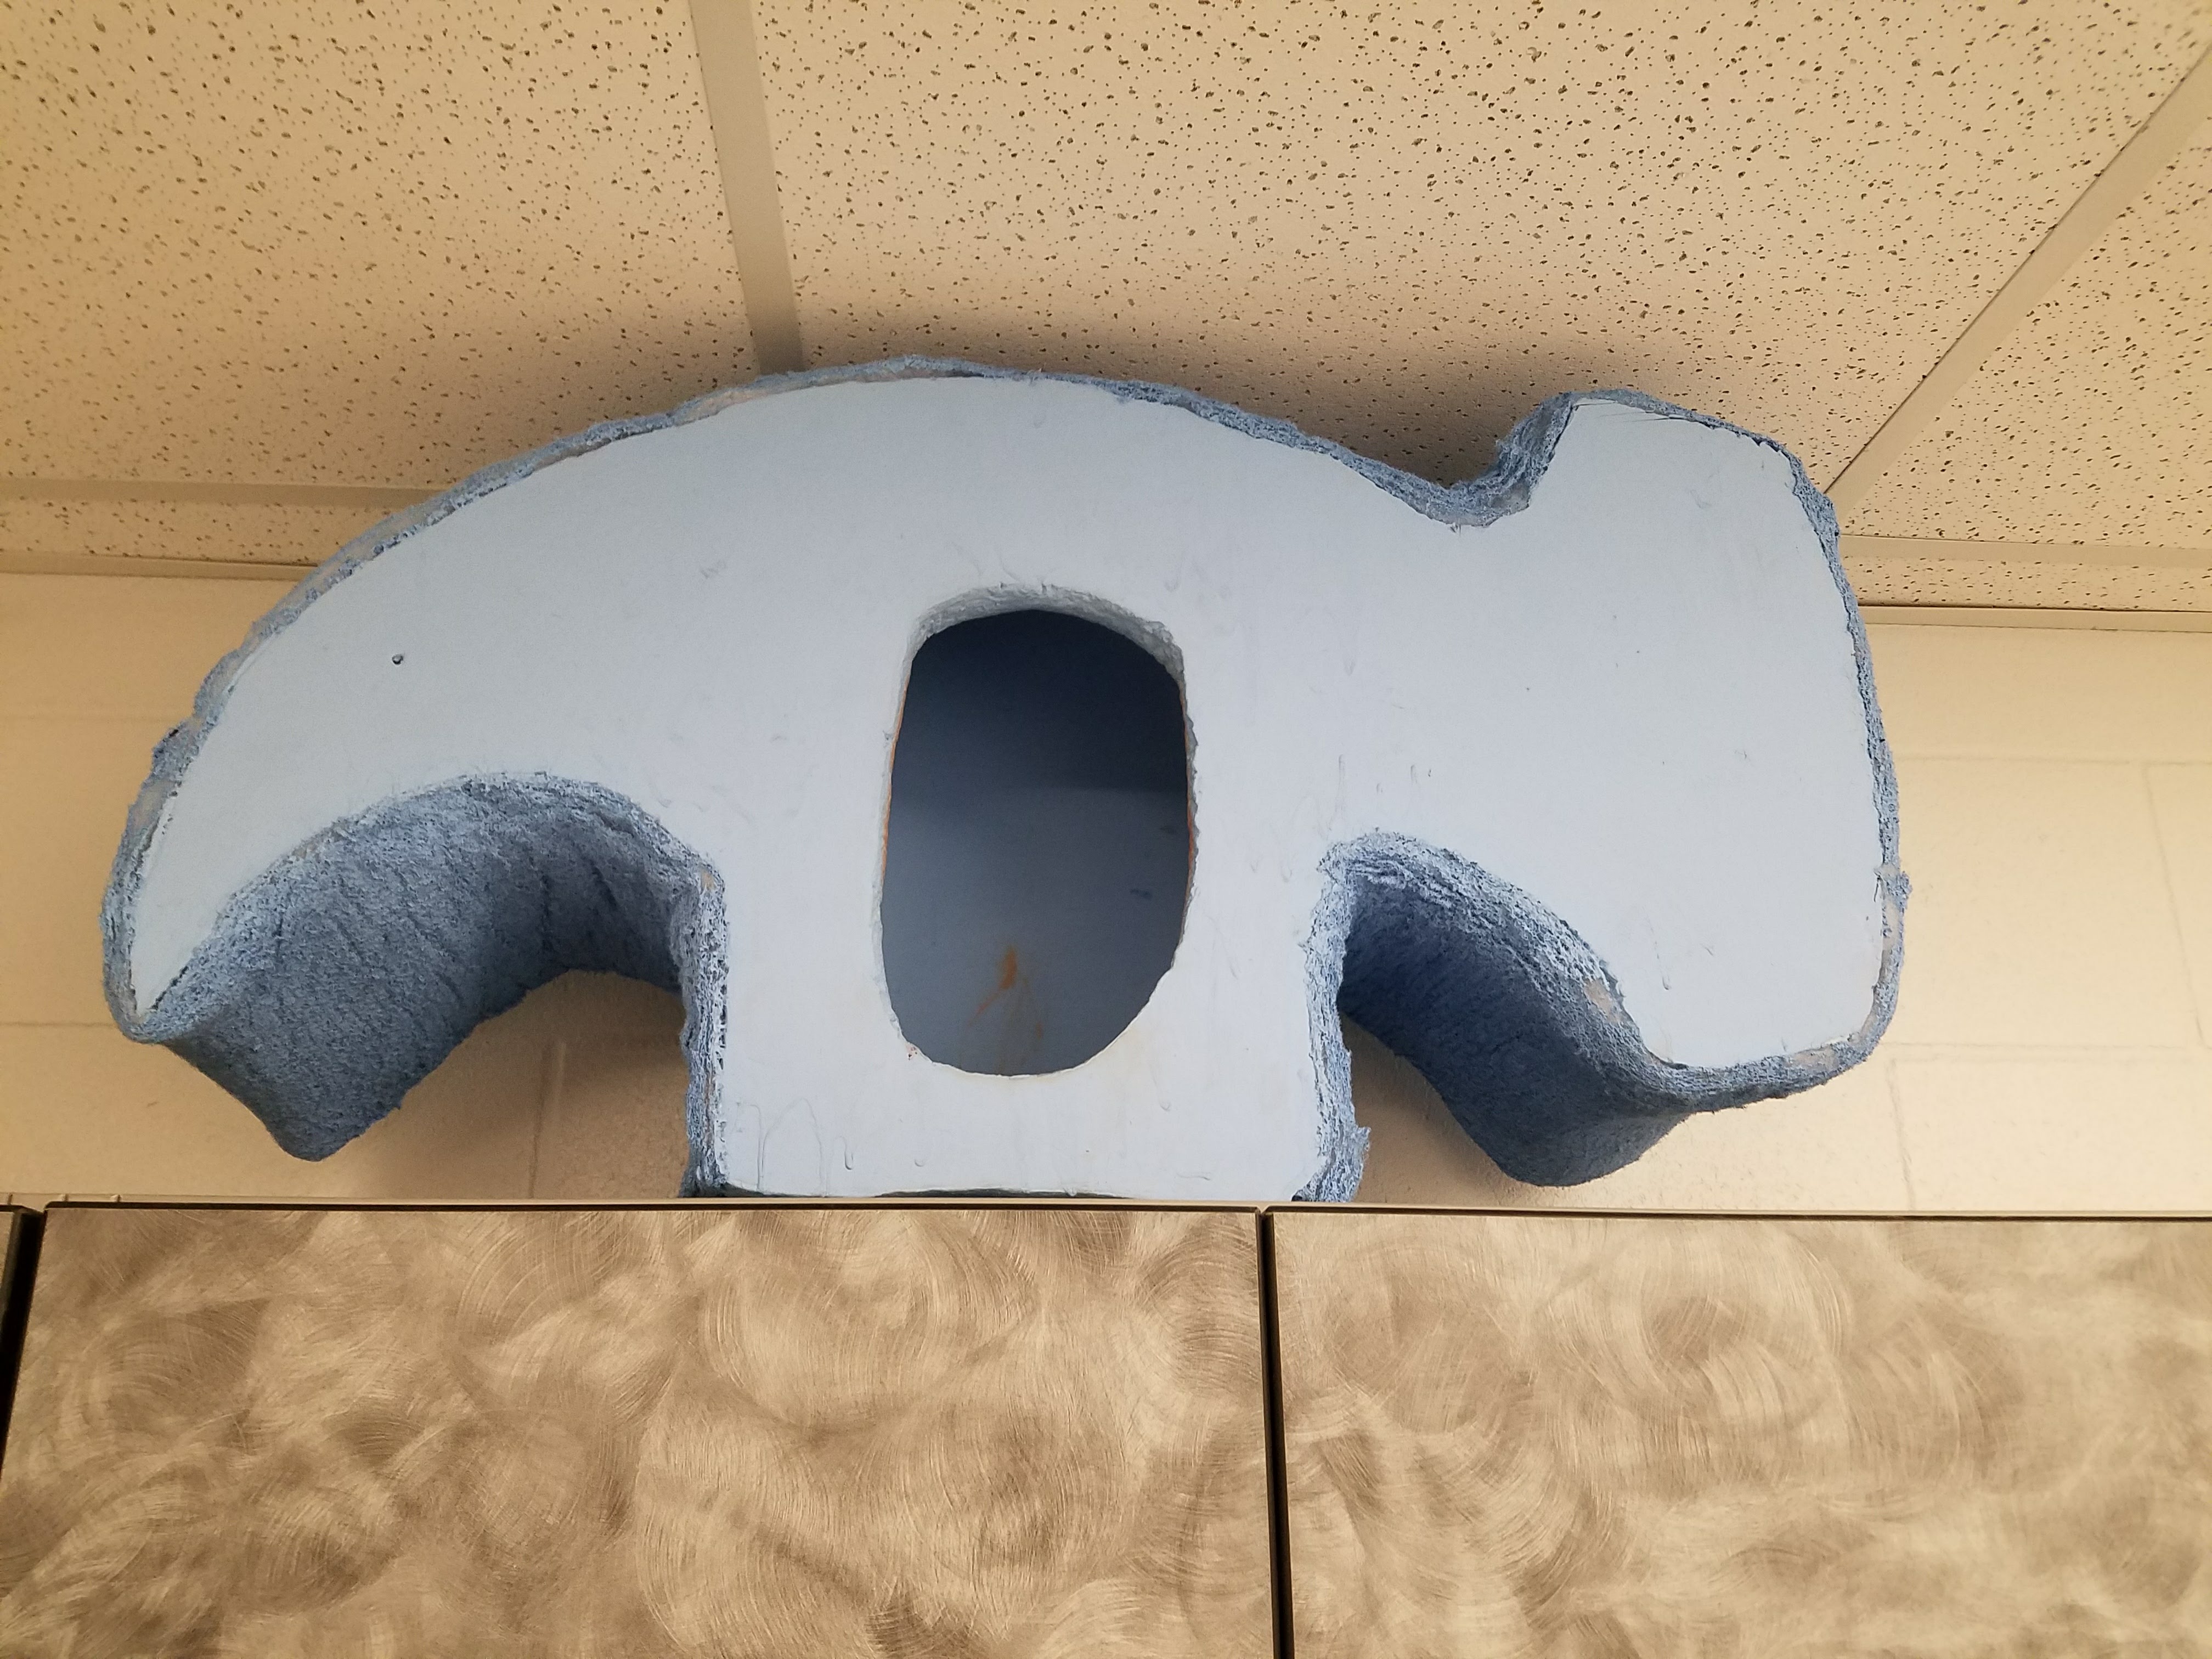
Years ago I did a production of Alice in Wonderland that called for narrators. I got creative with my narrator costumes, and for one of them I created a  hammer head costume (headpiece). The actor wore a suit along with the headpiece. It was simple to make and created exactly the look that I wanted.
Supplies:
- Foam board (AKA Styrofoam board)
- Upholstery batting
- Hot Glue
- Paint (I used a light blue)
- Hot Knife or Drywall Saw
- T-Pins (optional)
Step 1: Cutting out the Foam Board
The first thing that I needed to do was sketch out my hammer design onto the Styrofoam board. I sketched my design directly onto one piece of foam board, and then cut out my design. If you’re worried that you might mess up, you could always use a piece of cardboard or poster board to create a template to trace onto the foam board. Another option would be to create a transparency of your design and project it onto the foam board to mark it. To cut the foam board, I used what I had, which was a drywall saw. This worked pretty well, but my edges were a bit rough. Here’s a tip: you can rub the cut edges 
Step 2: Cutting the Upholstery Batting
Next, decide how deep you need your headpiece to be in accordance with the size of your actor’s head. Keep in mind that some of the face will poke through the hole that you created in the front piece of foam board. Using scissors, I cut a length of sturdy upholstery batting long enough to wrap around the edges of one of the foam board pieces, not including the bottom, which will remain open. Get the batting that comes in a roll as it will be more likely to hold its shape than the the flimsy, foldable batting that comes in a bag.

Step 3: Assembly
Before assembling, you’ll want to apply a layer of paint on the edges of the foam board and let the paint dry completely. The reason for this is to keep your hot glue from melting your foam board. Once the paint is dry, apply the upholstery batting around the edge one of your foam board pieces using hot glue, working your way around a little bit at a time. Then attach the other foam board piece in the same fashion. You can use t-pins to hold the upholstery foam in place as the hot glue dries so that you can keep working. While this isn’t a necessary step, it will allow you to work faster.
Step 4: Finishing Touches
Now that your headpiece is fully assembled, apply a coat of paint to your assembled head piece. Don’t forget to paint the opening where the face will show through as well as the bottom edges. It took four to five coats on the upholstery foam (drying between each application), but it was well worth it. When the paint is dry, the upholstery foam will have a little give to it, but will be much sturdier. In fact, it didn’t require any further support inside to keep its shape.

All in all, this was an amazing show with numerous fun costumes. I will have to blog about other costumes that I did for this show including the caterpillar, Cheshire cat, and owl (pictured). The owl was another narrator, by the way.


Hurrah! Finally I got a webpage from where I be capable of genuinely
take useful facts regarding my study and knowledge.
Haha this is actually pretty cool and seems simple enough to make! Thanks for the detailed instructions, sounds like a fun project for the family! 😀